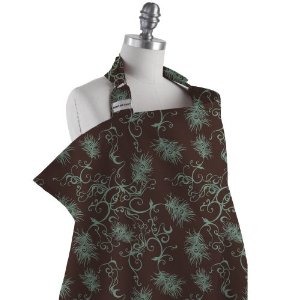
 Once again, I have run into an expensive baby product that I have scoffed at and murmured, “I could make that…” In this case, it is a nursing cover, AKA, “hooter hider.” This one, for example, is selling for a little over 30 dollars. Really? $30 for a piece of fabric strapped around your neck. I don’t think so.
So, I set out to make my own. After rummaging through some tutorials, I got the general idea of how to make one and just went for it.
 |
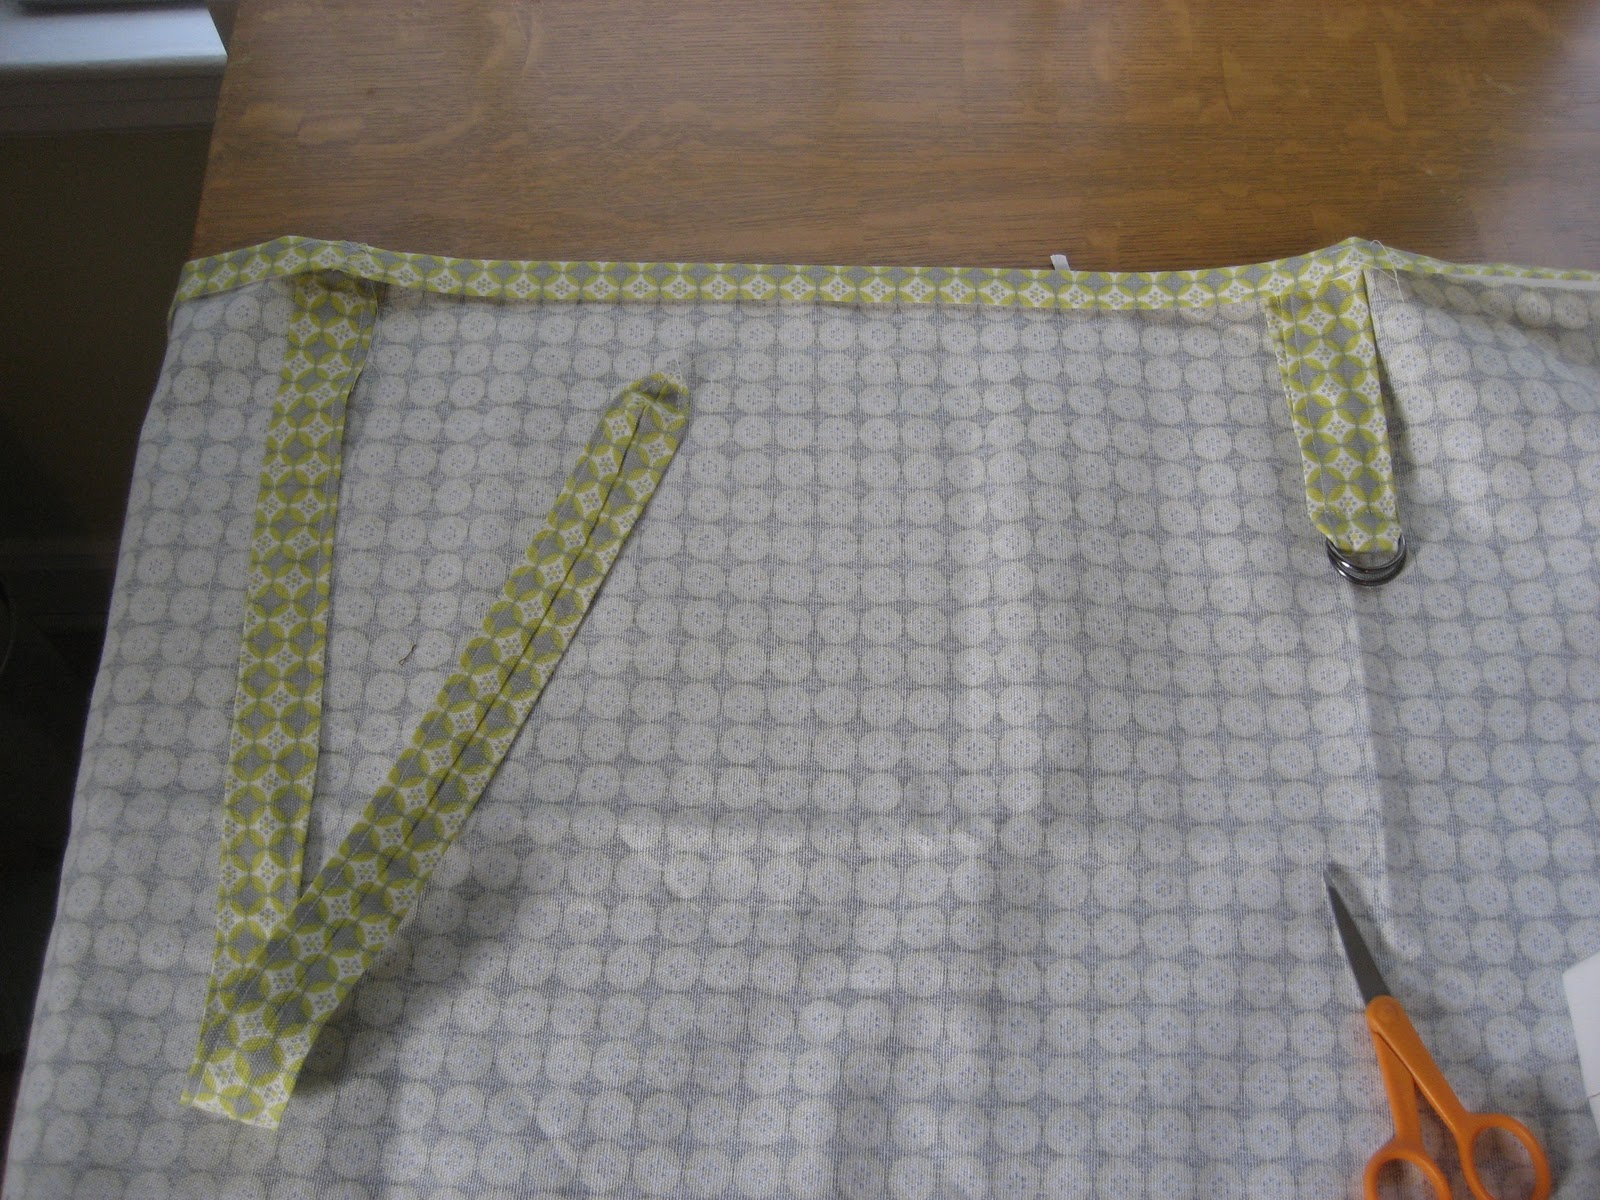
| My fabric strips are already sewn in this picture |
Supplies Needed:
26×38″ piece of fabric
3×10″ piece of fabric
3×26″ piece of fabric
16 strip of boning (I found at Hobby Lobby)
Two D Rings (mine were 1inch but 1.5 inch would work)
Lets start with the neck straps.
Fold them in half, longways, and stitch down one side.
When sewing these, make sure to curve one side off like the picture below. Cut off the excess. This makes it easy to slip in and out of the D-Rings.
 |
| Source |
Turn them right side out, iron them flat, and top stitch down both sides to get them nice and flat.

With your shorter strap, encase the D rings and stitch as close as possible to the rings to secure them.

Now, lets work with the main piece.
Identify what the top of your cover will be (38″ side).
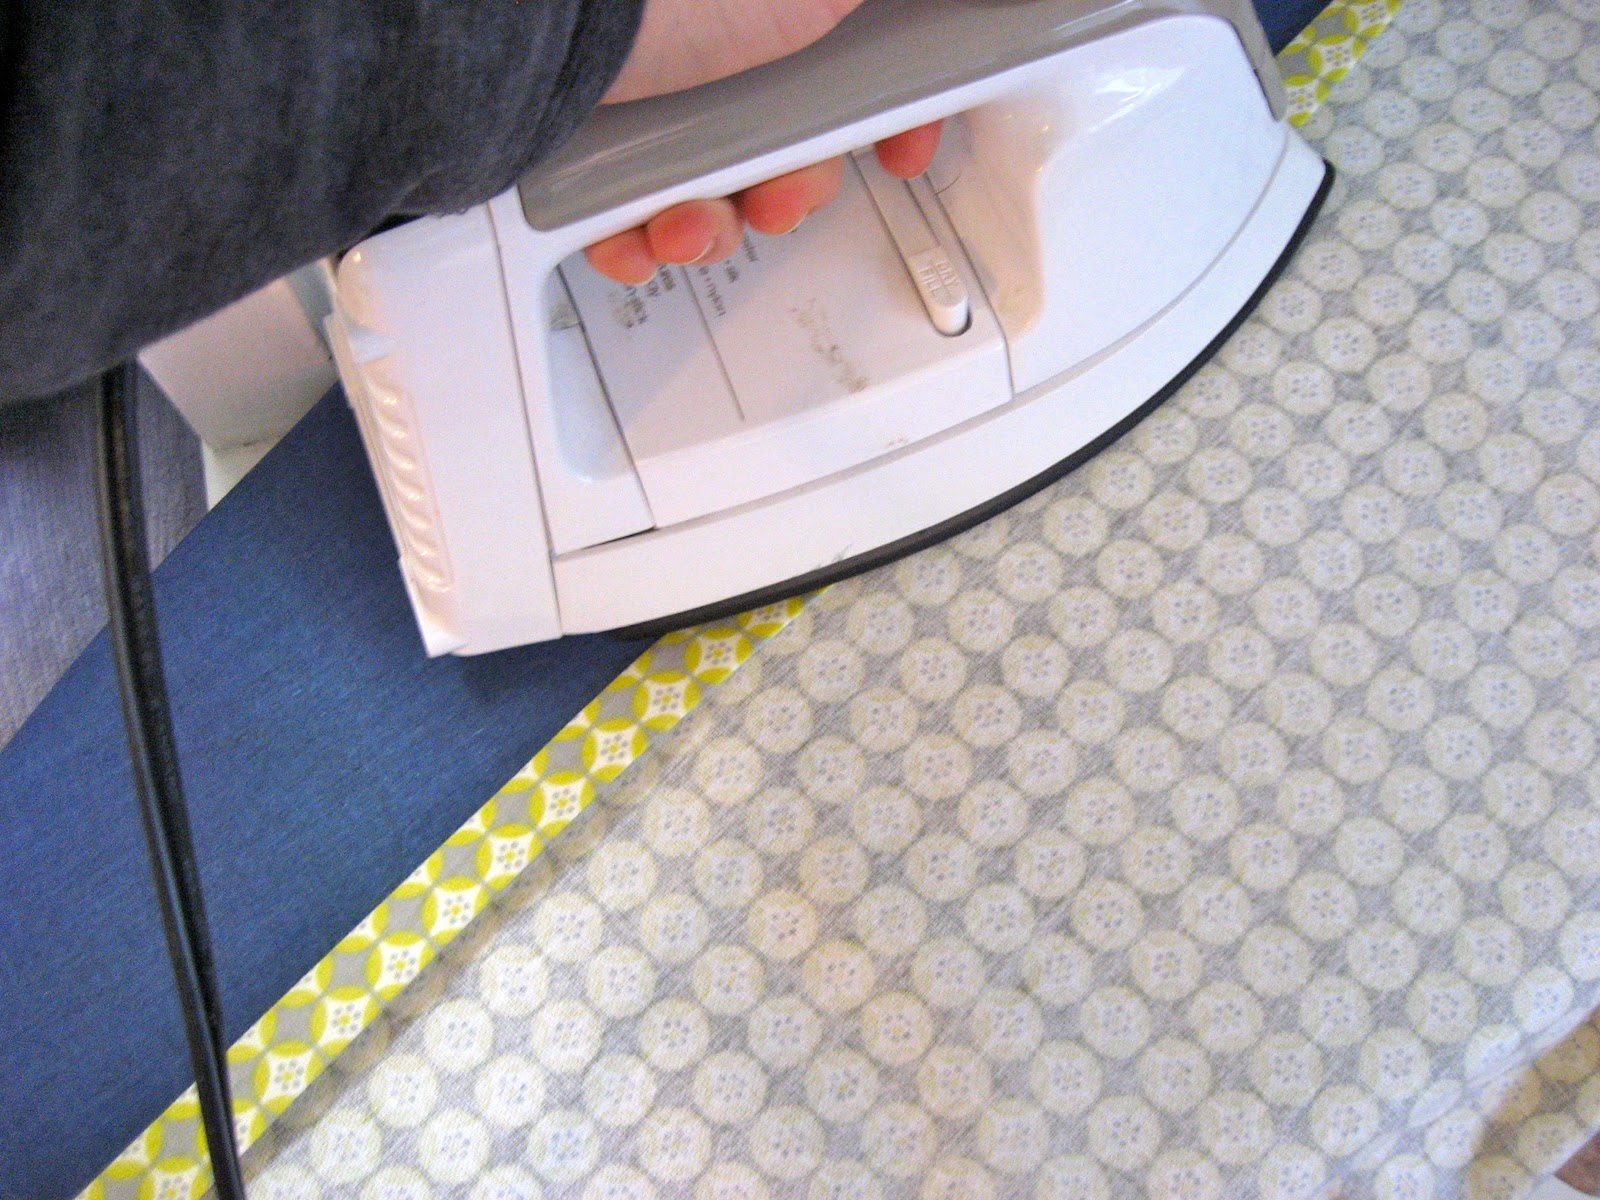
Fold and iron down 1/2″

Now do it again.
Unfold it ONCE and pin your boning in the center of the piece. Make sure the boning is curving away from you at first.
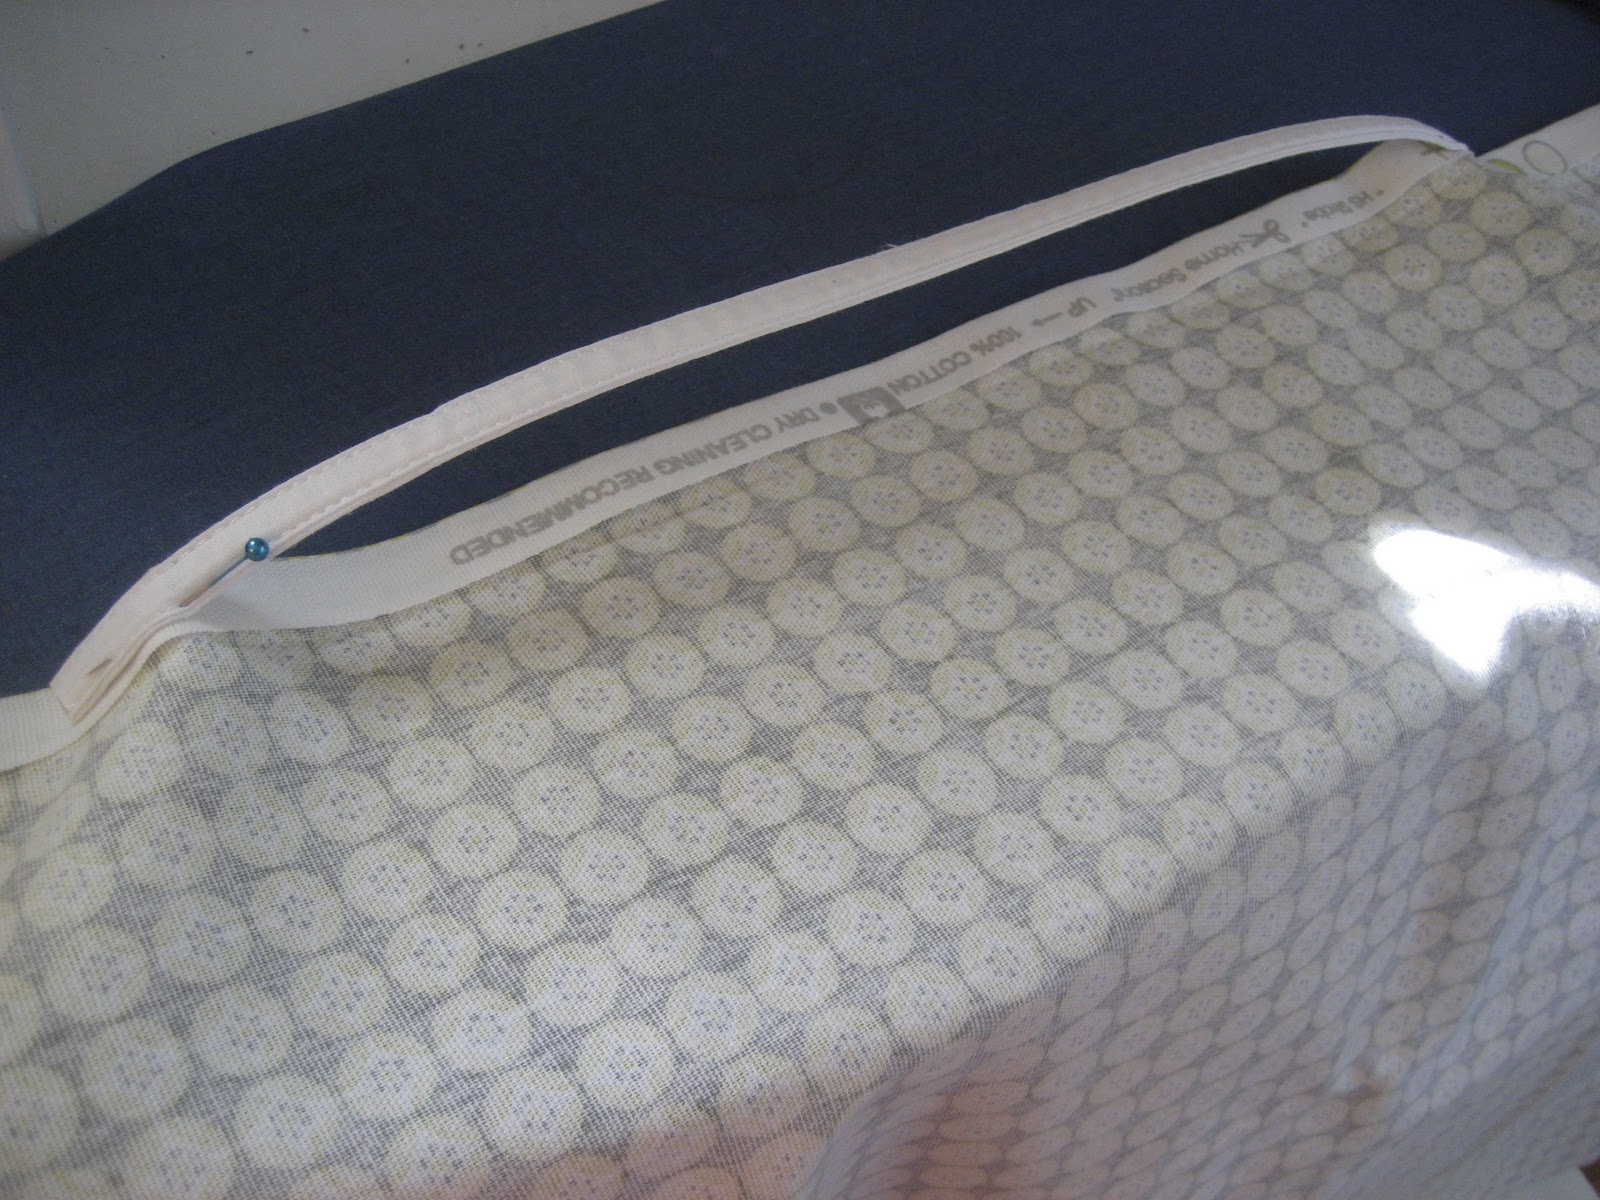
Stitch the boning in place. Just stitch as close to the top and bottom of it as you can.
Now fold your pre-ironed piece back in place with the boning encased. It should now be slightly curving towards you.

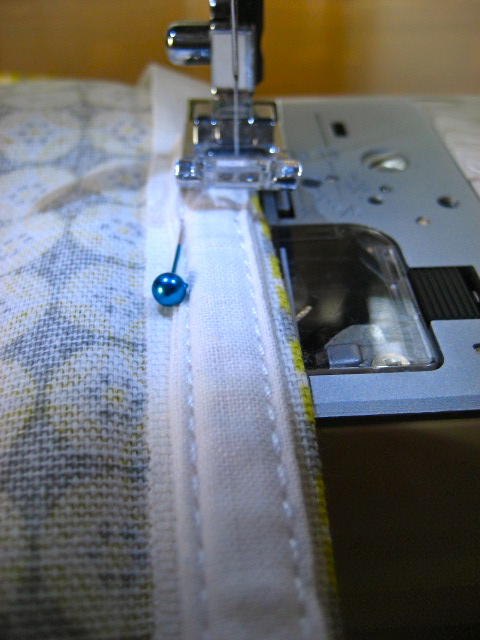
Before you stitch that down, slide your straps in place underneath the fold. I put mine right under the edge of each side of the boning.
Stitch all along the top, double backing at each end.
Now simply iron all the other edges the same way (1/2″ folds like before) and top stitch those to give you a nice hem. You’re done!

Now nobody has to see any unsightly-post baby flesh 🙂
I know I’ll put this to good use!